

 freewoodworkingplan.com ```html
 Opening: A Purrfect Project! Ready to build a cozy and stylish cat house for your feline friend? This step-by-step guide will walk you through creating a DIY wooden cat house that's both functional and aesthetically pleasing. Get ready to unleash your inner woodworker!
Materials and Tools: Gathering Your Supplies Before we begin, let's make sure you have everything you need. This will prevent interruptions later on. Wood (plywood, pine, or cedar are good choices) Dimensions will depend on the size cat house you desire. A common starting point is 24" wide x 18" deep x 18" high. Saw (circular saw, jigsaw, or hand saw) Drill with drill bits and screwdriver bits Screws or nails Wood glue Measuring tape Pencil Sandpaper (various grits) Paint or stain (optional) Safety glasses Dust mask Clamps (optional, but helpful)
Step 1: Planning and Design Decide on the size and design of your cat house. Sketch out a simple plan with measurements for each piece of wood. Consider adding features like a covered porch, multiple levels, or a scratching post attachment. A simple rectangular box with an entrance hole is a great starting point.
Step 2: Cutting the Wood Use your measurements and saw to cut the wood pieces according to your plan. Be sure to wear safety glasses and a dust mask. Double-check your measurements before each cut to avoid errors.
Step 3: Assembling the Base Start by assembling the base of the cat house. Apply wood glue to the edges of the base pieces and then screw or nail them together. Use clamps to hold the pieces in place while the glue dries.
Step 4: Adding the Walls Next, attach the side walls to the base using the same method: wood glue and screws or nails. Ensure the walls are aligned correctly and are square to the base.
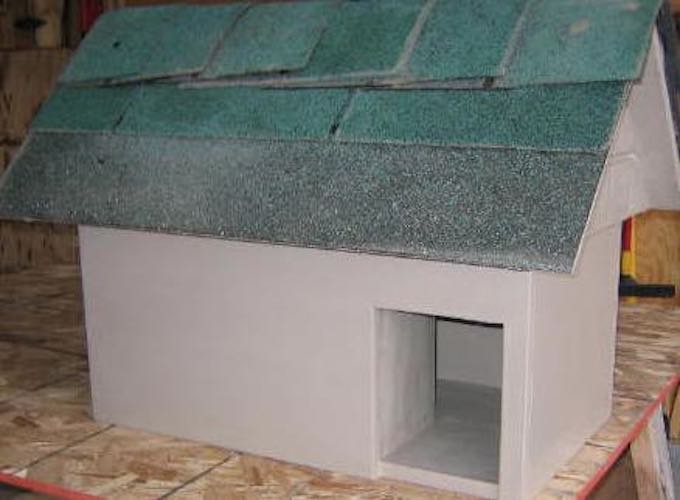
Step 5: Creating the Roof Construct the roof frame and attach the roof panels. If you want a slanted roof, adjust the angles of the frame accordingly. Again, use wood glue and screws or nails for a strong connection.
Step 6: Cutting the Entrance Use a jigsaw or drill to cut out the entrance hole. A circular or arched entrance is common, but you can choose any shape you like. Be sure to sand the edges of the entrance to remove any splinters.
Step 7: Sanding and Finishing Sand all the surfaces of the cat house to smooth out any rough edges or imperfections. Start with a coarser grit sandpaper and gradually move to finer grits. Once the sanding is complete, you can paint or stain the cat house to protect the wood and give it a personalized look. Let the paint or stain dry completely before moving on to the next step.
Step 8: Adding Optional Features Now is the time to add any optional features you planned, such as a covered porch, multiple levels, or a scratching post. Get creative and customize the cat house to suit your cat's needs and preferences.
Step 9: Final Touches and Testing Give the cat house a final inspection and make any necessary adjustments. Place a soft blanket or cushion inside to make it cozy and inviting. Then, introduce your cat to their new home!
Conclusion: A Happy Cat, A Happy Builder! Congratulations, you've built a beautiful and functional cat house! Your feline friend will surely appreciate their new sanctuary. This project not only provides your cat with a safe and comfortable space but also gives you the satisfaction of creating something with your own hands. Enjoy the fruits (or rather, the *meows*) of your labor!
``` Cat House
freewoodworkingplan.com Cat House Woodworking Plans & Cut List Digital File
 www.etsy.com
 Log Cabin Cat House
 freewoodworkingplan.com


0 komentar:
Posting Komentar